Meal Prep Basics Made Easy
Why Bother with Meal Prepping?
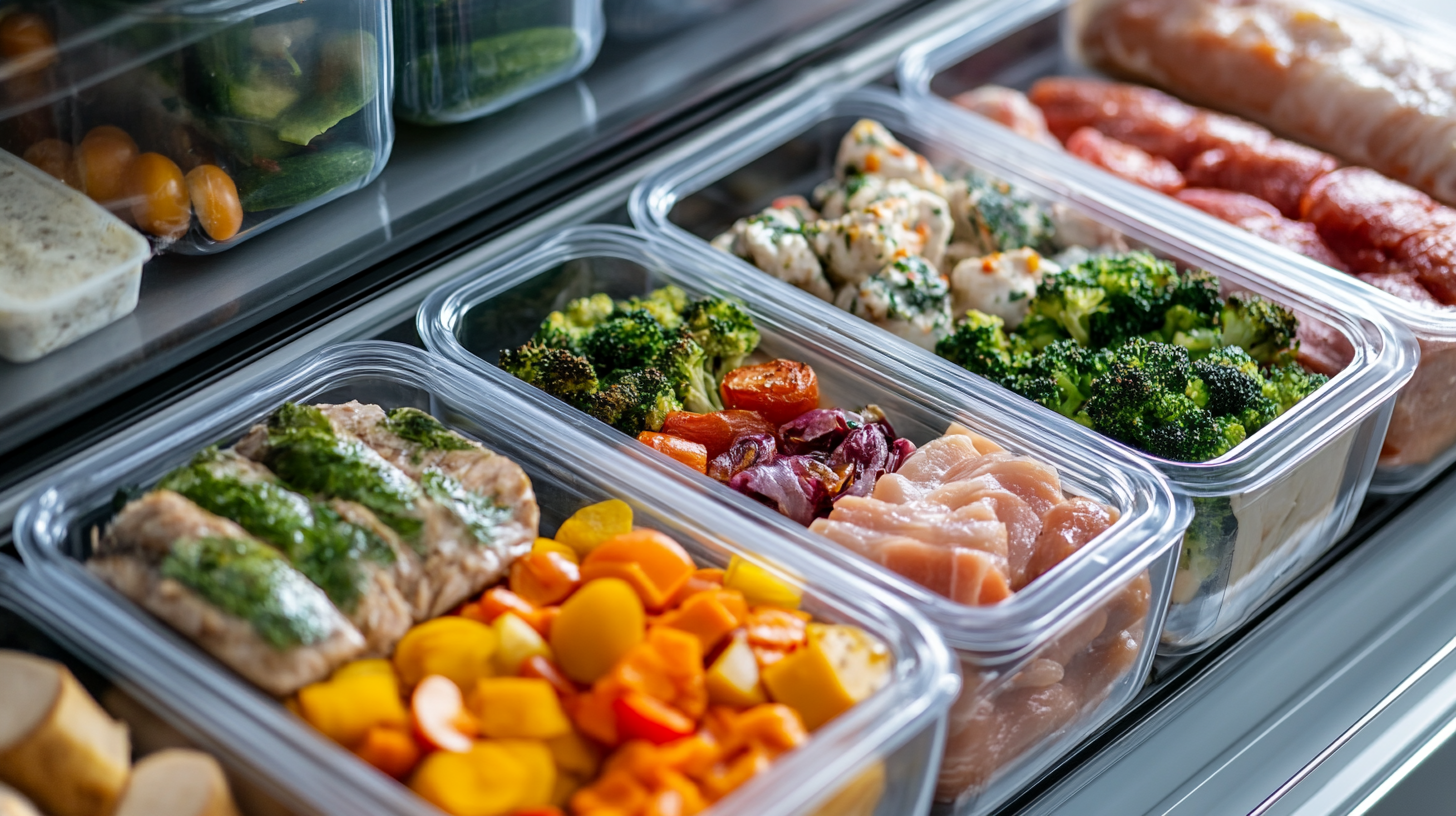
Meal prepping—it’s like having a personal chef without spending the big bucks. Whether you’re juggling work, school, or kids, prepping meals ahead of time makes life smoother. No more scrambling to throw dinner together or caving into takeout.
Here’s what’s in it for you:
- Time-saving: Whip up meals one day, savor them all week.
- Convenience: Easy grab-and-go eats keep you on track.
- Cash-saving: Buy big, cook big, save big.
- Less waste: Plan right, eat right, toss less.
- Health boost: Planned meals help dodge unhealthy snacks (Budget Bytes).
How to Start Meal Prepping Without Breaking a Sweat
Kicking off your meal prep game doesn’t have to feel like climbing Everest. Here’s how I got started:
Take Baby Steps
Start small. Like, really small. Use dinner leftovers for tomorrow’s lunch. This eases you in without making you feel like you live in a kitchen.
Plan Your Chow
Sketch out your weekly menu. Trust me, a game plan makes grocery shopping a breeze (Plan to Eat). Choose recipes that share ingredients to cut costs and reduce waste.
| Day | Breakfast | Lunch | Dinner |
|---|---|---|---|
| Monday | Oatmeal | Grilled Chicken Salad | Spaghetti Bolognese |
| Tuesday | Yogurt and Fruit | Turkey Wrap | Stir-fry Veggies |
| Wednesday | Smoothie | Quinoa and Veggies | Chicken Curry |
| Thursday | Egg Muffins | Tuna Salad | Beef Tacos |
| Friday | Pancakes | Veggie Soup | Salmon and Rice |
Cook in Bulk
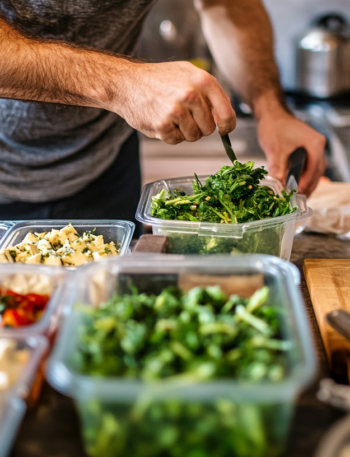
Set aside time—preferably on the weekend—to cook big batches. Think gallons of chili or mountains of stir-fry. Portion them out for the week.
Pick Perfect Containers
Invest in good containers that fit your needs (shopping for ingredients). They keep your food fresh and make it easy to grab and go.
Container Tips:
- Glass containers: Handy for microwaving or baking.
- Plastic containers: Lightweight, just make sure they’re BPA-free.
- Compartments: Keep different foods separate.
| Container Type | Material | Features |
|---|---|---|
| Basic Plastic | Plastic | Lightweight, BPA-free |
| Compartmentalized | Plastic | Separate sections for food |
| Basic Glass | Glass | Microwave and oven-safe |
| Compartmentalized | Glass | Durable, separate sections |
Need more storage wisdom? Check out our guides on storing meals, reheating and enjoying, and prepping meals.
Starting small and gradually upping your meal prep game makes it a time-saver and a diet boost. Dive in and watch your routine get a whole lot easier!
Meal Prep Planning
Efficient meal prep isn’t just for gym buffs and nutrition nerds; it’s for anyone who wants their week to run smoother and tastier. Let’s break down the how-tos of whipping up a solid meal plan and nailing that grocery list every time.
My Weekly Planning Routine
When Sunday night rolls around, I like to map out my meals for the week. It makes grocery shopping a breeze and ensures I’ve got everything to throw together tasty meals.
Why Plan Your Week’s Meals?
- Staying Organized: Knowing what you’ll eat each day means fewer 4 PM panic sessions about what’s for dinner.
- Saving Time: With everything prepped, weekday meals come together fast, freeing up time for things you actually want to do.
- Less Waste: Buying only what you need cuts down on those forgotten veggie drawer casualties. If there’s extra, I freeze it (StateFoodSafety).
Check out a simple snapshot of my weekly meal plan below:
| Day | Breakfast | Lunch | Dinner |
|---|---|---|---|
| Monday | Overnight Oats | Grilled Chicken Salad | Spaghetti Bolognese |
| Tuesday | Smoothie Bowl | Veggie Wrap | Beef Stir Fry |
| Wednesday | Yogurt with Granola | Quinoa Salad | Lemon Garlic Shrimp |
| Thursday | Scrambled Eggs | Turkey Sandwich | Chicken Alfredo |
| Friday | Avocado Toast | Tuna Salad | BBQ Chicken Tacos |
| Saturday | Pancakes | Pita Pockets | Grilled Salmon |
| Sunday | French Toast | Leftovers | Homemade Pizza |
Crafting the Perfect Grocery List
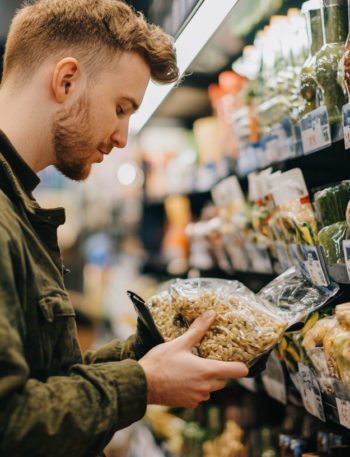
The grocery list is the backbone of any good meal prep. Here’s how I make sure I cover all the bases without going overboard.
Steps to a Smart Grocery List
- Review the Plan: I start by looking at my meal plan for the week to figure out what and how much I need.
- Sort by Section: Organize the list by sections like produce, dairy, and meats. This way, I don’t zigzag around the store.
- Check What’s in Stock: A quick pantry, fridge, and freezer check prevents unnecessary purchases.
- Essentials First: Important stuff goes on the list first, followed by the “nice-to-have” items.
Here’s a peek at a typical shopping list:
| Category | Item | Quantity | Notes |
|---|---|---|---|
| Produce | Spinach | 2 bags | For salads and wraps |
| Meat | Chicken Breasts | 6 pieces | For various recipes |
| Dairy | Greek Yogurt | 3 tubs | Breakfast and snacks |
| Pantry | Quinoa | 1 box | For salads and sides |
| Frozen | Shrimp | 2 bags | For dinner meals |
For more meal prep tips, check out our detailed prepping meals guide.
To keep your food fresh, remember: your fridge should be set below 40°F (4°C), ideally between 35°F and 38°F (Meal Village). This keeps the bad stuff away and your food fresh and yummy.
With these meal prep and grocery list strategies, you can make your weeks less chaotic and more delicious. Bon appétit!
Tools and Containers for Meal Prep
Picking the right tools and containers for meal prep can make your life a lot easier. Let’s break down what you need to get started.
Must-Have Tools for Meal Prep
You can’t prep without the right gear. Here’s the lowdown on my go-to tools:
- Sharp Knife: You need this for slicing and dicing everything from veggies to chicken breasts. Dull knives? No thanks.
- Multiple Cutting Boards: One for meat, one for veggies. Let’s keep things separated to avoid any “oops” moments.
- Measuring Cups and Spoons: Perfect for portion control and following recipes to the T.
- Mixing Bowls: Different sizes, all the time. Great for mixing or stashing prepped items before they hit the stove.
- Storage Containers: Various sizes to stash your prepped goods. We’ll talk more about these in a bit.
- Blender or Food Processor: Smoothies, soups—this baby does it all.
- Labels and Markers: Save yourself from that “What’s this?” moment when you open the fridge. Label everything!
Need more meal prep hacks? Head over to our prepping meals guide.
Picking the Perfect Containers
Choosing the right containers is a game-changer for storing your meals. Here’s what to consider:
| Container Type | Pros | Cons |
|---|---|---|
| Plastic | Light, sturdy, usually microwave-safe. Think Rubbermaid Brilliance. | Can stain, sometimes smelly, no-go for ovens. |
| Glass | Oven-friendly, odor-free, looks nice, tough (especially with silicone wraps). | Heavy, fragile, more $$$. |
| Stainless Steel | Tough, green, good for fridge and freezer. | Nope for microwaves, can burn a hole in your pocket. |
If you’re about compartments:
- Single-Compartment: Simple meals, no fuss.
- Two-Compartment: Keep your rice away from your veggies.
- Three-Compartment: Bento-style magic, but might cramp your larger meal items.
Freezing meals? Use quality containers to keep that freezer burn at bay and your meals fresh. Check out our tips on maximizing freezer storage.
With these tools and the right containers, meal prepping will be a breeze. Prep on!
Keeping Fresh Produce Really Fresh
Keeping your fruits and veggies fresh longer isn’t just for the folks who love grocery runs. Whether you’re a busy bee, gym buff, parent, or just trying to eat healthily, good storage habits mean fewer trips to the store and fresher meals.
Making Fruit Last Longer
Where and how you stash your fruit can be a game-changer. Whole fruits generally outlast cut ones by a long shot. Here’s a sweet tip sheet:
- Whole Fruits Stay Fresher: Generally, uncut fruits can hang around in your fridge for up to two weeks. Once you chop them up, though, they start going mushy way faster.
- Ethylene Gas Watch: Some fruits like avocados, apples, and tomatoes let off ethylene gas, speeding up ripening. Keep these guys away from other produce unless you want everything ripening together (Reader’s Digest).
| Fruit | Best Way to Store | Shelf Life |
|---|---|---|
| Whole Avocados | With apples or tomatoes | 7-14 days |
| Apples | Away from ethylene-sensitive produce | 3-4 weeks |
| Berries | Breathable container in the fridge | 5-7 days |
| Citrus Fruits | Fridge crisper drawer | 3-4 weeks |
Vegetables: Keeping Them Fresh
Veggies are nutrient powerhouses but can spoil faster than you can say “salad.” Try these simple hacks:
- No Potato-Onion Mix-up: Store potatoes and onions separately. Onions can make potatoes sprout faster and give them funky smells (Reader’s Digest).
- Ventilation is Key: Leafy greens and root veggies love cool, dark places with good airflow.
- Right Containers: Store mushrooms in paper bags to absorb extra moisture and keep them away from strong odors like scallions (Reader’s Digest).
| Vegetable | Best Storage Method | Shelf Life |
|---|---|---|
| Leafy Greens | Breathable bag in crisper | 5-7 days |
| Potatoes | Open container, cool dark spot | 1-2 months |
| Onions | Cool, dark, airy place | 1-2 months |
| Mushrooms | Paper bag in fridge | 4-7 days |
Storing fresh produce right not only makes it last but keeps its nutritional punch. Whether you’re plotting your weekly menu or hitting the grocery aisles, knowing how to store your fruits and veggies can save you time and keep you healthier. Wanna get more tips? Check our meal prep guide and shopping tips.
Proper Food Storage Guidelines
Keeping your meals fresh and tasty isn’t rocket science; it’s all about knowing the tricks. Stick to these tips, and your food will remain safe and delicious.
Refrigerator Hacks
Your fridge is more than an icebox; it’s your best buddy for keeping food fresh. With insights from FDA and other guidelines, you can make sure your groceries get the love they deserve (StateFoodSafety). Here’s what I do to keep stuff in top shape:
- Keep It Cool: Make sure your fridge stays at 40°F or lower. This keeps those pesky bacteria at bay and food safe to eat.
- Know Your Limits: Eat leftover meat, poultry, and seafood within 3-5 days. If it looks funny or smells weird, chuck it (Meal Village).
- Breathe Easy: Don’t stuff your fridge like a suitcase. Let the air move to keep a steady cool temperature.
- Smart Containers: Use containers sized between 24-30 oz. for your meals. It saves space and cuts down on excess air (Peanut Butter & Fitness).
To keep things simple and tasty, I don’t prep more than 4 days’ worth of meals. It keeps things fresh and varied (Budget Bytes).
Freezer Tricks
Freezing is your secret weapon for long-term storage. Done right, your food will taste as good as new when you thaw it. Here’s my strategy based on USDA pointers (StateFoodSafety):
- Cold As Ice: Set your freezer to 0°F or lower. This keeps your food safe and sound.
- Seal It Tight: Use freezer-friendly bags and containers. Make sure they’re airtight to dodge freezer burn.
- Label Like a Pro: Always mark your containers with the date and contents. It’s a game-changer for keeping track.
- Space It Out: Just like your fridge, don’t pack the freezer too tight. Air circulation is essential for consistent freezing.
| Food Item | Refrigerator Lifespan | Freezer Lifespan |
|---|---|---|
| Red Meat | 3-5 days | Indefinitely at 0°F or below |
| Poultry | 3-5 days | Indefinitely at 0°F or below |
| Seafood | 3-5 days | Indefinitely at 0°F or below |
| Cooked Meals | Up to 4 days | Indefinitely at 0°F or below |
Following these tips means you’ll always have fresh, safe, and tasty meals ready to go. For more detailed meal prep tips, check out prepping meals.
Want to get the most flavor when reheating? See our tips on reheating and enjoying. New to meal planning? Our guides on planning meals and creating grocery lists are perfect for you.
Freezing and Thawing Meals
Freeze and thaw your meals like a pro to keep them tasty and nutritious. It’s easier than you think—just pick the right containers and follow some basic thawing tips.
Best Containers for Freezing
Picking the right containers for your frozen meals is key. You want to keep your food from drying out or absorbing other flavors in the freezer (Thriving Home).
Here’s a handy list:
| Container Type | Details |
|---|---|
| Glass Containers | Sturdy and reusable. They don’t stain or hold onto odors. Great for both freezing and reheating. |
| Plastic Containers | Lightweight and cheap. Choose BPA-free and labeled freezer-safe. |
| Freezer Bags | Space-savers—ideal for liquids or foods you can flatten. Saves room in the freezer. |
| Vacuum Seal Bags | Best for long-term storage. They keep air out to prevent freezer burn. |
These containers keep your food fresh and tasty, making meal prep easier. Need more tips? Check out our guide on meal prepping.
Thawing Meals the Smart Way
Thawing your food right is just as crucial. Do it wrong, and you get mushy textures or worse—food safety issues. Here’s how to do it:
- Refrigerator Thawing: Safest choice. Move your meal to the fridge a day before. It defrosts evenly and stays safe to eat.
- Cold Water Thawing: In a rush? Put your meal in a sealed bag and dunk it in cold water. Swap the water every 30 minutes. Small items like soup can be ready in 1-2 hours; bigger stuff takes longer.
- Microwave Thawing: Need it now? Use your microwave’s defrost setting. It’s fast but might thaw unevenly. Cook immediately after to avoid bacteria.
| Thawing Method | Time | Notes |
|---|---|---|
| Refrigerator | 1 day | Safest but needs planning |
| Cold Water | 1-2 hours (small items) | Fast but needs water changes |
| Microwave | Minutes (varies) | Quick but can thaw unevenly |
For more on handling leftovers safely, see our article on reheating and enjoying leftovers.
With the right containers and thawing steps, your homemade meals will taste great every time. Enjoy every bite!
Food Storage Do’s and Don’ts
Keep your meals tasty and safe by storing them the right way. Here’s how to get the most out of your meal prep with some handy tips.
Food Storage Tips You Need
- Airtight Containers: Keep everything fresh longer by using airtight containers. Glass jars work great for soups, plastic ones for proteins and rice, and mason jars for salads and dressings. Check out more tips on meal prepping.
- Temperature Matters: Make sure your fridge is below 40°F. Aim for 35°F to 38°F because bacteria love warmer temps and can spoil your food fast.
| Storage Method | Best Temperature |
|---|---|
| Refrigerator | 35°F – 38°F |
| Freezer | 0°F |
- Label Everything: Write down what’s inside and the date it was made. This way, you’ll know what to eat first and nothing gets wasted.
- Right Portions: Store single portions in separate containers. It’s easier to reheat and keeps your food fresher longer. For more ideas on meal rotation, visit meal rotation.
Foods That Shouldn’t Hang Out Together
- Avocados and Cucumbers: Avocados release ethylene gas, which makes cucumbers spoil faster. Keep avocados with apples, tomatoes, and other fruits that ripen after picking. Save cucumbers for leafy greens and root veggies. (Reader’s Digest).
- Potatoes and Onions: Onions can make potatoes sprout and absorb their odors. Store potatoes in a basket, dry and unwashed, while onions belong in a cool, dark place (Reader’s Digest).
- Tomatoes and Bananas: Both release ethylene and ripen faster together. Keep them apart to avoid over-ripening. (Reader’s Digest).
Follow these simple tips to keep your food fresh and tasty for longer. For more info on keeping your leftovers safe, check out our guide on reheating and enjoying your meal preps.
Keeping Your Meals Safe and Tasty
Smart Tips for Handling Leftovers
Got leftovers? Don’t let them become a science experiment in your fridge. Eating leftovers can be safe and delicious if you handle them right. So, here’s the lowdown on keeping those meals fresh and safe.
- Cool it Quick: After digging into your feast, don’t leave leftovers on the counter. Pop them in the fridge as soon as possible, ideally within two hours. If you’re outdoors on a hot day (above 90°F), chill them within one hour.
- Avoid Bacteria Paradise: Bacteria love warm, cozy places. Keep hot foods above 140°F and cold ones under 40°F. Anything in between is a bacteria breeding ground.
- When in Doubt, Throw It Out: If you’re unsure whether those leftovers are still good, it’s safer to just toss them. Bacteria don’t always give off smells or tastes, so don’t risk it.
| Storage Method | Safe Period |
|---|---|
| In the Fridge | 3 to 4 days |
| In the Freezer | Best within 3-4 months |
Learn more here.
Giving Leftovers a Second Life
Want to make stale leftovers taste fabulous again? Here’s how to reheat them safely. Nuke or bake them until they hit 165°F inside. This ensures you zap any nasty bugs.
- Use That Thermometer: An instant-read thermometer is your best friend. Make sure leftovers heat to 165°F.
- Stir It Up: Stirring ensures even heating, so you don’t end up with hot edges and a cold center.
- Skip the Slow Cooker: Sorry, no-go here. Slow cookers take too long to heat up, which can lead to bacterial growth.
| Reheating Method | Safe to Use |
|---|---|
| Microwave | Yes |
| Oven | Yes |
| Stove | Yes |
| Slow Cooker | No |
Check out more here.
These straightforward tips will help you enjoy your meals without any worry. Whether you’re a busy parent, on a fitness journey, or just love having ready-to-eat meals, keeping these practices in mind will keep you and your family safe. Eat well, stay safe, and enjoy every bite!
This freshened-up version of your content is ready to engage and satisfy users while optimizing for readability and search engines.
